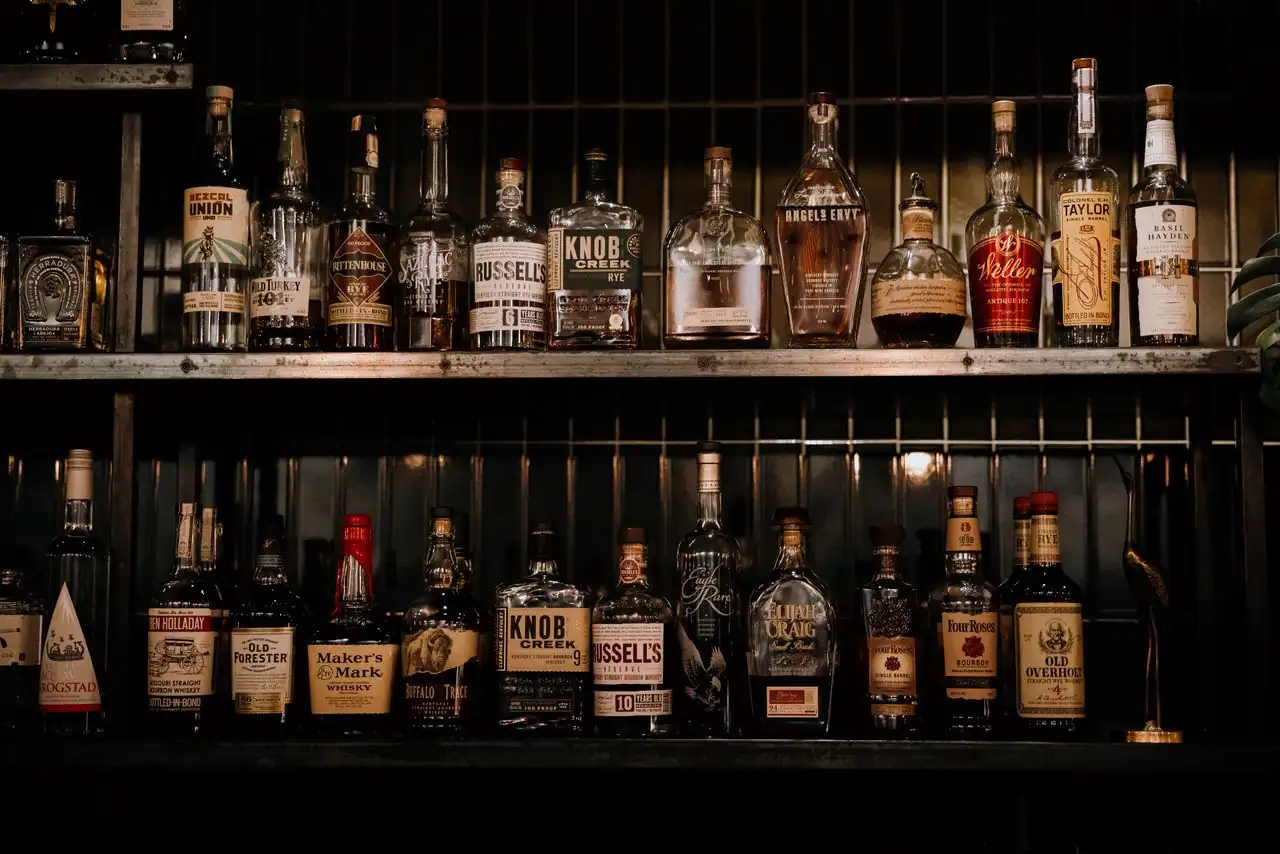
A useful bourbon home bar can fit inside a cabinet. What makes it work is having the things you use within reach, somewhere to prepare a drink, and a sensible place to put everything afterward.
Start with the way you drink. A neat pour asks very little of a setup. An Old Fashioned needs a few ingredients, suitable ice, and room to stir. Making cocktails for friends adds another question: can you prepare the next round without moving half the collection?
Our recommendation is to choose two drinks you expect to make regularly, give their supplies a home, and build from there. You can add a handsome cabinet, a bar cart, or more bottles as you discover what would make the setup more enjoyable.
This guide focuses on making a bourbon home bar work in your space. For individual product recommendations, our bourbon accessories guide covers the glasses, ice options, and tools worth considering.
Decide what your home bar needs to do
Think about an ordinary evening before imagining a party. Which drink would you make if everything were ready? How many people would you usually serve? Where would you stand while making it?
Those answers tell you which supplies need to be accessible and how much room to reserve. Someone who enjoys a neat pour after dinner can keep a much smaller setup than someone who makes several different cocktails every weekend.
| Your usual evening | Keep ready | Give it a place |
|---|---|---|
| Bourbon neat or over ice | A bottle you enjoy, suitable glasses, water, and ice if wanted | A shelf or cabinet near a usable surface |
| An Old Fashioned or two | Bourbon, aromatic bitters, sugar or syrup, measure, spoon, glasses, and ice | One working area with nearby ingredient storage |
| Manhattans and other stirred drinks | Appropriate ingredients, stirring vessel, measure, spoon, and strainer | A preparation area with refrigerator access |
| Whiskey Sours | Bourbon, lemon, sweetener, measure, shaker, and glasses | A surface near the kitchen for citrus preparation and cleanup |
| A round for friends | Enough glasses, prepared ice, water, and supplies for a short menu | A working area with a separate spot for finished drinks |
You can cover several of these habits with the same equipment. The useful question is whether the arrangement makes your next drink easier to prepare.
Choose the location before the furniture
The best-looking corner is not always the best place for bottles. Look for a location away from direct sunlight and heat, with a stable surface and enough clearance to reach what you need comfortably.
Heaven Hill’s whiskey-storage guidance recommends keeping bottles upright, away from heat sources and direct sunlight, on sturdy shelving. Those requirements should guide the location before you decide how much of the collection to display.
A narrow cabinet near the kitchen may be more useful than a spacious cart across the room if you make citrus cocktails. A sideboard near the dining table may suit someone who mainly serves neat pours. Choose the location for the activity you want it to support.
A shelf or cabinet for a small setup
An existing cabinet can hold bottles, glasses, and a small container of tools. Use the top or a nearby counter as the working surface. If the cabinet is too deep to see into easily, keep the bottles you use most toward the front rather than adding another row behind them.
Check the interior height with your tallest bottle, including its stopper. Make sure the shelf is intended to support the load you plan to put on it. A display shelf designed for a few decorative objects may be a poor choice for a growing collection of full bottles.
A bar cart for a movable serving area
A cart can look inviting and give a small collection a defined home. Before buying, decide where it will normally sit, whether the shelves fit your bottles and glasses, and where you will actually prepare drinks.
Do not assume the cart’s top will do everything. If it is filled with bottles and glassware, you still need a nearby surface for measuring and stirring. Plan to move a loaded cart carefully; its mobility is useful, but it also affects how securely you should arrange breakable items.
A dedicated bar for regular entertaining
More space is valuable when it gives you more usable preparation room, accessible storage, and an easier way to serve. It becomes less useful when every extra surface fills with bottles you rarely open.
Before committing to furniture or built-in cabinetry, try a temporary arrangement using what you own. Make a few drinks there, carry them to where people sit, then wash and return the equipment. That rehearsal will reveal more than another hour looking at finished bar photographs.
Keep a place to work
Separate storage from preparation, even if both occupy the same piece of furniture. Bottles can sit toward the back or inside the cabinet, while the working area stays clear enough to hold a glass, a measure, and the vessel you use for mixing.
Test the space with the equipment you own. Can you pour without knocking another bottle? Can you set a wet spoon down without reaching across the finished drink? Can you open the cabinet or drawer while standing there?
A tray can group the bottles you use most. A small container or drawer can keep the measure, spoon, and strainer together. Use either when it makes the arrangement easier to maintain; there is no need to buy a matching organizer for every object.
Keep a cloth within reach and protect the working surface as its finish requires. If the setup is far from a sink, choose a convenient place to collect used tools and glasses until you take them to the kitchen.
For serving company, leave a landing spot for completed drinks. It should be obvious which glass is ready to pick up and which one you are still making. That small distinction helps keep people from crowding the preparation area.
Stock for two drinks first
A bourbon bar does not need to become a general liquor collection. Start with a bourbon you enjoy in the drinks you make, then add ingredients with an intended use.
For a simple beginning, choose neat pours or bourbon over ice plus an Old Fashioned. If you like fresh citrus drinks, make the Whiskey Sour your second cocktail. If your preference is a Manhattan, plan for its vermouth and stirred preparation instead.
A starting setup for neat pours and Old Fashioneds
- A bourbon you enjoy drinking and mixing.
- Enough suitable glasses for the people you normally serve.
- Aromatic bitters and sugar or syrup.
- A measure and spoon, using suitable tools you already own where possible.
- An ice supply, water, and access to an orange if you want a fresh garnish.
That is a working starting point. Our Old Fashioned recipe explains the preparation, including how to adjust the drink to your taste.
Add supplies when the next drink needs them
For a Whiskey Sour, add lemons, a shaker, and a way to squeeze the juice. Buy fresh citrus according to the drinks you expect to make, rather than maintaining a display bowl for appearance alone.
For a Manhattan, add sweet vermouth and a suitable stirring vessel and strainer if you do not already have them. Our Manhattan and Old Fashioned comparison explains how the drinks differ, which can help you choose where to expand.
There is no need to buy a second bourbon just to fill another shelf position. Add another bottle when you want a different style to drink, have a particular cocktail in mind, or know the people you serve would enjoy it.
Plan the cold storage as part of the bar
The refrigerator and freezer are part of the setup even if the bottles live in another room. A home bar that ignores them leaves you walking back and forth once you start making drinks.
Give ice a routine
Choose a tray or other ice source that fits your freezer and the glasses you use. Check the opening of the glass against the cube dimensions before buying a large mold.
If you regularly serve several people, think in batches. A mold that makes four attractive cubes gives you four cubes per cycle. Prepare ahead and keep finished ice in a suitable covered freezer container if you need more than one batch.
You do not need clear ice to start. Choose a more elaborate system when its appearance or format is something you enjoy enough to keep making it. Our bourbon ice mold guide compares options in more detail.
Keep opened vermouth in the refrigerator
Vermouth belongs to a different storage routine from bourbon. Vya’s producer guidance recommends resealing and refrigerating vermouth after opening to preserve its flavor and aroma.
If Manhattans are part of your menu, reserve refrigerator space for the vermouth and mark when you opened it. Follow the producer’s guidance for the bottle you buy, and choose a size you are likely to use while it is still enjoyable.
Read the labels on syrups, mixers, and garnishes too. Their storage directions differ. Keep the bottles that need refrigeration in the refrigerator between uses instead of arranging every ingredient permanently on the bar.
You do not need a dedicated bar refrigerator simply because you make cocktails. Start with space in the kitchen refrigerator. Consider another appliance only when capacity or the repeated trip becomes a real inconvenience.
Keep the bottle collection easy to use
Give the bottles you regularly open the easiest access. Keep backups and less-used bottles elsewhere if they crowd the working area. You can enjoy a display without displaying everything at once.
One simple arrangement is to group bottles by how you use them: everyday pours together, cocktail ingredients together, and bottles reserved for particular occasions in another location. Use a system you can understand without consulting a spreadsheet.
If the collection grows, take a quick look before shopping. Check what is already open, what is running low, and what you have barely touched. That helps you buy for the drinks you enjoy instead of adding another bottle because you lost track of the last one.
Keep original closures with their bottles and return them after use. Detailed long-term storage questions deserve more attention than a setup guide can give them, but the basic location rules still apply: upright bottles, sturdy support, and protection from sunlight and heat.
Make serving friends a short menu
You do not have to offer every cocktail you know. For a small gathering, a neat pour, an Old Fashioned, and one other drink can give people useful choices without requiring a large ingredient collection.
Decide the menu before people arrive. Make ice, check the glass count, and put the tools and shelf-stable ingredients in reach. Bring refrigerated ingredients out when you need them, and keep drinking water easy for guests to find.
Set the bar up around your actual capacity. If you own four suitable glasses and expect six guests, arrange extra glassware before the evening begins. If the chosen drink needs fresh citrus, prepare the equipment near the kitchen rather than trying to squeeze lemons among the display bottles.
For guests who want to compare neat pours, set aside enough space to place glasses next to one another and keep track of what is in each. A simple handwritten list can do that job. Dedicated tasting accessories can wait until you know you enjoy hosting those evenings.
Spend where the setup slows you down
Use the bar for a few evenings before buying the next upgrade. Pay attention to the inconvenience that keeps recurring.
If glasses are always in short supply, buy more of a shape you like. If you run out of ice, improve the preparation routine or capacity. If drinks take too long because everything is stored in a different place, reorganize before adding equipment.
Some upgrades are about pleasure rather than efficiency, and that is a good reason too. A beautiful cabinet, a favorite serving tray, or glasses that feel special can make you enjoy the space more. Choose them knowing what they add, and measure the available room before ordering.
The setup has earned its place when you can make the drink you wanted, share it comfortably, and put everything back without a project. That can happen on a shelf just as easily as behind a dedicated bar.
Bourbon home bar questions
What do you need for a bourbon home bar
Start with a bourbon you enjoy, suitable glasses, water, and a practical place to store and serve them. Add ice if you like it and the ingredients and tools for one or two cocktails. Expand according to what you actually make.
Can you set up a home bar without a bar cart
Yes. A cabinet, shelf, or sideboard with access to a suitable preparation surface can work well. Choose a location that protects the bottles and lets you reach and use the contents comfortably.
How many bottles should you start with
One bourbon can be enough for your initial setup if you enjoy it neat and in your chosen cocktail. Add other bottles for a specific use or a different drinking experience rather than trying to reach a prescribed collection size.
Do you need a sink or refrigerator at the bar
Neither has to be built into the bar. You do need a workable route to water, cleanup, and cold storage. Try using the kitchen facilities first, then decide whether distance or capacity justifies a dedicated appliance or larger installation.